
Turning on QR table ordering in the POS
Connect the POS to the menu platform, add tables, print their codes and receive orders.
- Reading time
- 3 min read
- Steps
- 6 steps
- Level
- Intermediate
- Updated
- Updated October 10, 2026
The POS interface is in Arabic; screenshots and button names are shown as they appear in the app, with English explanations.
Available for restaurant subscriptions with the table-ordering add-on. Selling and the kitchen always work locally; the platform only carries orders.
1Get the connection code
In your customer portal open the subscription → “Table ordering & online menu” → create a one-time connection code.
2Enable it in the POS
Settings → Tables & QR ordering: enable “Tables and QR table ordering” and save.
3Connect to the platform
Click “Connect to the platform” and enter the code. Choose the payment method used when accepting a QR order, the default preparation time and the estimate mode (parallel or queue).
4Add tables and print their codes
The Tables page: “Add several tables”, then “QR code” per table → “Print” or “Save as image”. “New QR code” disables the old one immediately.
5Receive orders
Orders appear in “Table orders (QR)”: “Accept” or “Accept + print” creates one paid sale, or “Reject” with a reason, then “Preparing”, “Ready” and “Served”.
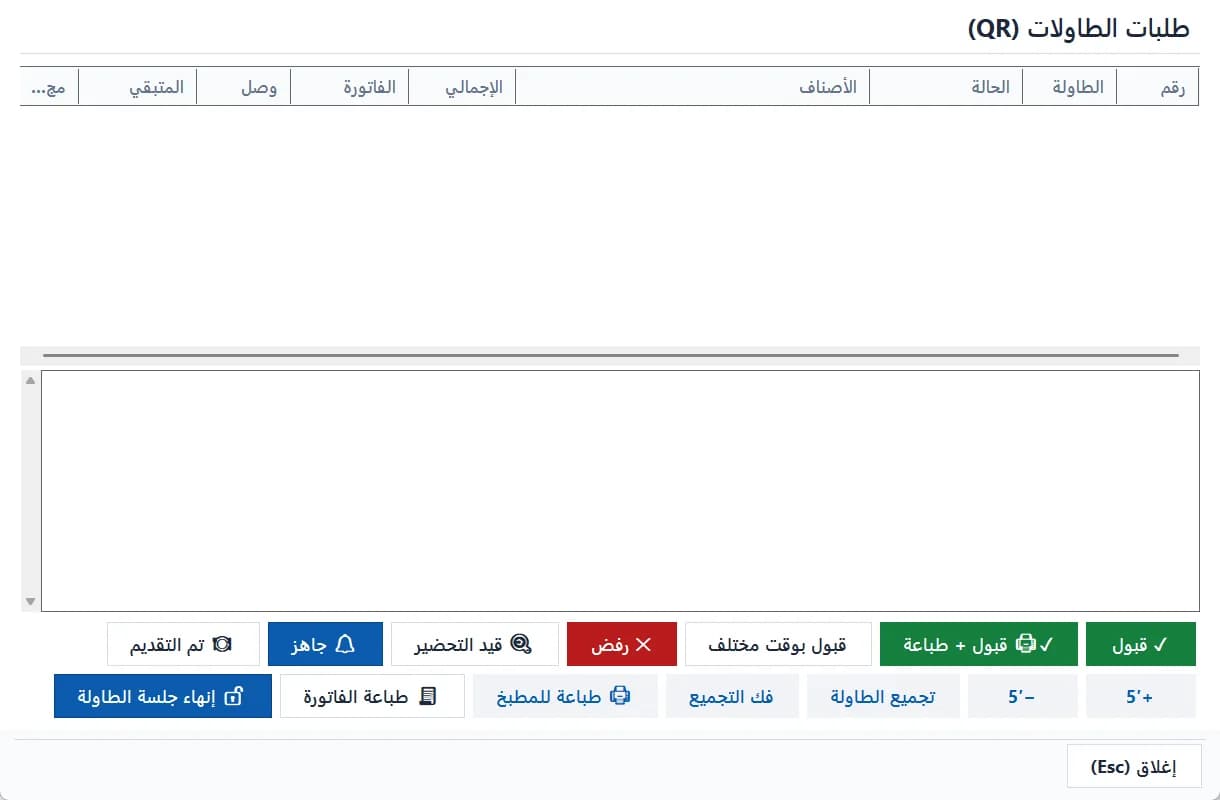
The cashier's QR table-orders window: accept, reject, prepare, end the session · Arabic interface 6Time, bill requests and ending the session
Adjust time with +5′ / −5′. The guest's “Request the bill” arrives here to print the table bill. “End table session” closes it so the next party never sees previous orders.
FAQ
Selling and the kitchen continue. New phone orders wait until the connection is back; changes are sent automatically.
No. Repeating “Accept” returns the same sale — never a second sale or stock movement.