
Printers, cash drawer and receipt design
Set up the 58/80 mm thermal printer, kitchen printers and the receipt design with a live preview.
- Reading time
- 2 min read
- Steps
- 6 steps
- Level
- Beginner
- Updated
- Updated October 10, 2026
The POS interface is in Arabic; screenshots and button names are shown as they appear in the app, with English explanations.
The POS prints on any printer installed in Windows. The cash drawer opens through the printer (ESC/POS).
1Install the printer in Windows
Install the thermal printer driver from the manufacturer and make sure Windows prints a test page.
2Choose it in Settings
In Settings → Printing & receipt choose the printer and paper width (58 or 80 mm), then “Preview / test print”.
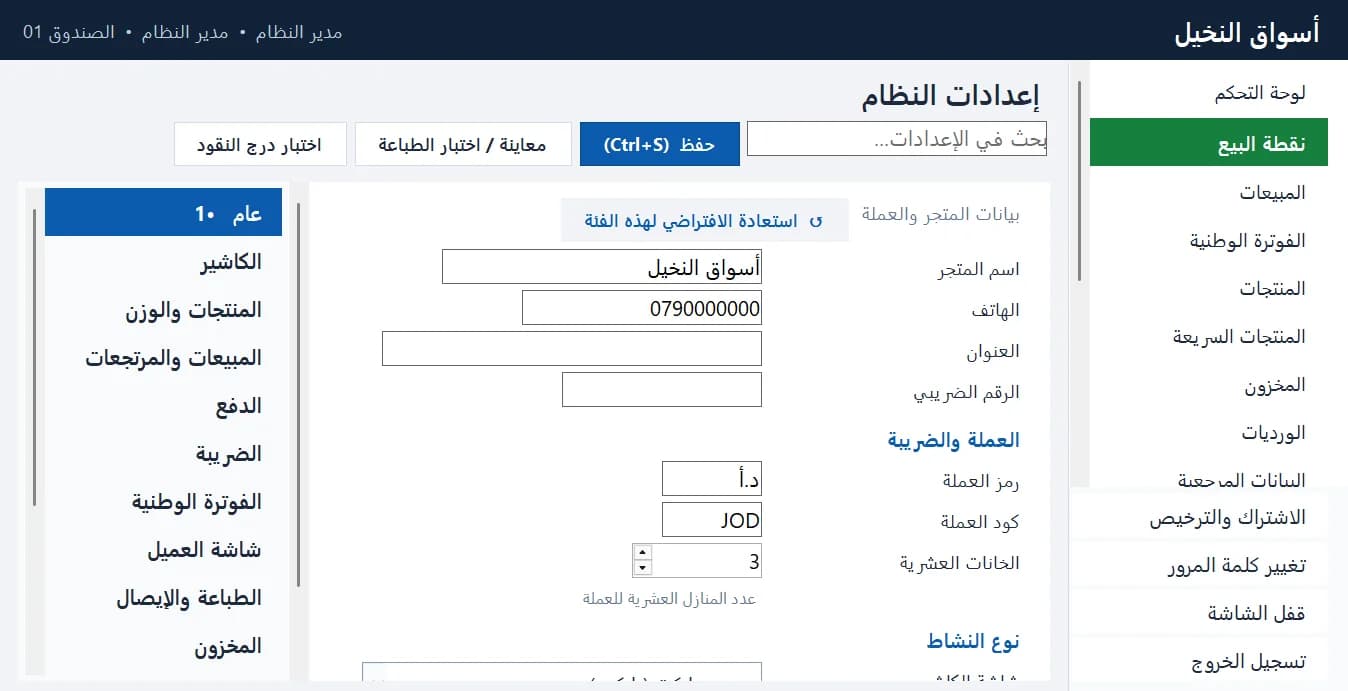
System settings: store, currency, tax, business type and printing · Arabic interface 3Design the receipt
Title, each optional part, font size, margins and printed width with a live preview. Text stays inside the printable width, so the first letters of Arabic lines are never cut.
4Cash drawer
Connect the drawer to the printer and press “Test cash drawer” in Settings. It opens automatically on cash payments.
5Kitchen printers and extra copies
Each register can have several printers: a kitchen printer limited to chosen categories, and extra receipt copies.
6Customer display
Under “Customer display” show the cart and total on a second screen facing the customer.